Rent Manager is a comprehensive property management solution. It enables users to automate and streamline numerous tasks, including billing, maintenance, and communications. These features are complemented by a tenant portal, which allows prospective tenants to view and make maintenance requests online, as well as review lease applications online.
Software is available for Windows and Mac computers. Additionally, it is available as a cloud-based service. This allows property managers to access the software from anywhere in the world, regardless of whether they are at work or on the move. Additionally, the software offers multiple pricing options and a free trial.
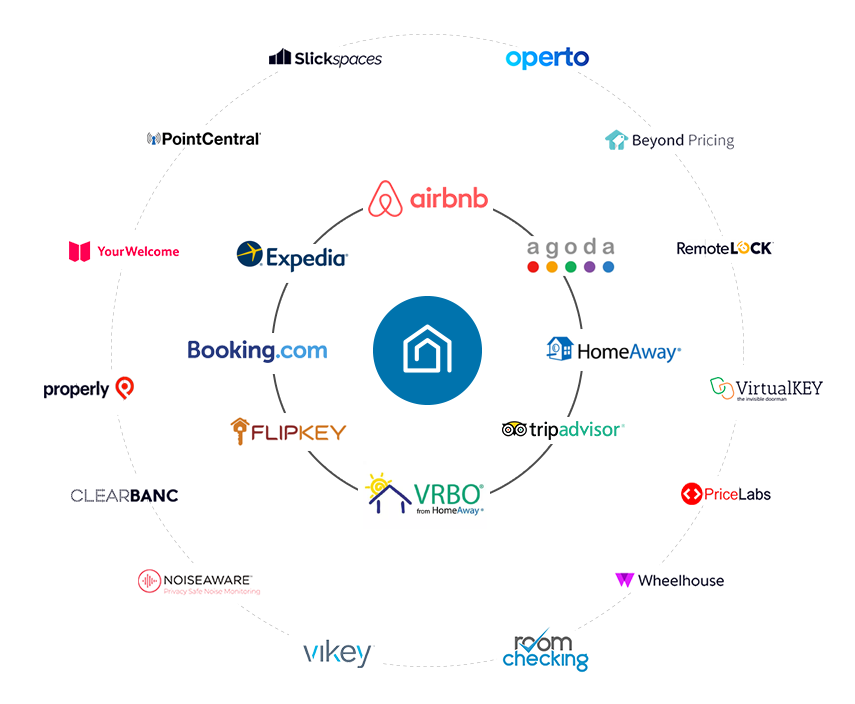
There are more than 200 partners, so it is easy to find the best solution for your company. You can choose from three plans: the basic plan, the Plus plan, and the Premium plan. Each one offers different amounts of features. The Premium package will give you the best software experience.
Rent Manager includes a built-in website creator that will allow you to create a professional-looking site. This allows you to list vacant units, and generate more income. Another feature is electronic payments. This feature allows you to send e checks to your tenants. Your tenants can then pay their rent via email.
You can also use the Tenant Portal to track your tenant's activities as well perform background checks. The tenant portal is available for desktop, iPad, and iPhone. You can also use the app for maintenance tickets, work orders management, and photos from tenants.
One of the best features of the system, is the ability to import data into other programs. This allows you to create financial reports as well as an automatic account payable and receivable. The software can take on almost any task property managers may throw at it.
Rent Manager is a partner program that Zego offers. Together they simplify the process of distributing landlord programs. Rent Manager has chosen them as their preferred partner for utility management.
Additional features include the ability create and print custom reports. For instance, you can create an invoice for a tenant that lists all of the services they've ordered from you. You can also create an individual chart that displays important dates. Similarly, you can create an automatic rent reminder.
Rent Manager helps you optimize your property management process and maximize your revenue. You can simplify your life, no matter if you're a small or large property manager. Rent Manager offers a variety of support options that will help you succeed.
There are two main types of Rent Manager software, the Basic and the Plus plans. Both versions of the software can be purchased at a reasonable price. The Basic plan is priced at a meager $1 per unit, while the Plus plan costs $2.25. If you have a limited budget, the Free Package is available that allows you to manage 10 properties.
FAQ
What happens if a handyman causes harm and I'm not satisfied with his work?
Notify him immediately if something goes wrong with the project. You should write down all details and take photographs of the area. Next, contact your insurance company and file for a claim.
Do I need a license to become a handyman?
In most states, you won't need a license to become an independent contractor (as opposed to a salaried employee). However, there are some requirements you must fulfill:
-
Be at least 18 years old.
-
A high school diploma or GED is required.
-
Complete a four-week course at a vocational school.
-
Check your background through the Department of Licensing.
-
Register for the year by paying $20
You will also require business licenses as well workers' compensation coverage.
What's the difference between a handyman or a carpenter, you ask?
You can hire a handyman for many projects including plumbing, electrical installation and drywall repair. Carpenters specialize in woodworking. They can build cabinets, walls, doors, windows, stairs, decks, roofs, fences, sheds, etc.
Statistics
- Another estimate was that the market in the United States was $126 billion and was increasing by about 4% annually. (en.wikipedia.org)
- “Before the pandemic, 40% of people asked how we could estimate a job when we weren't there,” Rose recalled. (inquirer.com)
- Mila keeps a commission of 20% for each completed service performed by Friends and charges various service fees regarding work done by Pros. (appjobs.com)
- “Once the pandemic hit, that number fell to about 20%.” (inquirer.com)
- With a strong housing market, the handyman and general maintenance worker industry are expected to grow by nearly 10% in the next decade. (housecallpro.com)
External Links
How To
How to Install Receptacle Box
Always follow local guidelines when installing an electrical outlet. This includes ensuring that the wiring is installed correctly and that there are no problems associated with water damage or existing fire hazards.
The majority of boxes come prewired, with four wires coming out of the breaker panel. The box's two black wires are connected to the first screw. The red and white wires connect to the second screw. It is very important to make sure that you do not use wire nuts and wrap around the screws when connecting these wires together. It is likely that you will have problems getting the wires into place after tightening them down. You want to keep them loose enough to move freely but tight enough so they won't pull out of their respective holes.
Another piece of hardware may be needed if you are adding a receptacle for an already existing box. To accomplish this task, you need to cut off the top of the existing metal box and add a new cover plate. After you have made the hole for your new receptacle, and attached the coverplate, you will need to connect all wires to your new receptacle.
You may not need a licensed electrician to replace the existing light switches in your home. The first thing you will need to do is remove the old switch from its mounting location. Then, disconnect all wires connecting to the switch. These wires can be used to power the switch or supply electricity to the light fixtures in the room. Now you are ready to start the replacement process.
After removing the switch, measure the distance to the wall and mark the location with a permanent marking pen. Once you have measured the distance between wall studs and marked them with permanent markers, you can determine whether the new switch must be mounted high above the floor or below it. You will need to drill holes for the mounting bracket depending on how high the switch is to be mounted. Or you can attach it directly to the wall with drywall anchors.
Once you have the measurements taken and the locations marked, it is time to start the project. You can begin removing the drywall around the area where the switch is to be installed with the assistance of a friend or relative. For cable safety, make sure you leave 8 inches between each of the studs. The next step is to mount the switch using the appropriate mounting brackets. Attach the cables to your switch and then secure it onto the mounting plates. After the switch is installed properly, it will be necessary to turn on the power again and to test the device to make sure it works correctly.